Hi, I’m Coleen and I’m the girl behind The Redhead Baker, a mostly-sweet-but-sometimes-savory food blog.
I’m really excited that Jaime offered me this opportunity to share one of my favorite snacks with you!

Living in a big city, we didn’t have county fairs, with crafts, livestock, or tractors. We did have neighborhood fairs on the football field behind the middle school, with small rides, games, and lots of food! Every summer throughout my childhood, I would take a ride on the swings and the Tilt-a-Whirl, try to win a stuffed bear by knocking bottles over with a baseball, and finish it up with a cheeseburger, a soda, and funnel cake for dessert.
I still look forward to funnel cake every summer, and get some every chance I can — at amusement parks, at the New Jersey shore. Again, summertime activities. I could never find funnel cake during the rest of the year when a craving hit.

Then I found out how EASY it is to make funnel cake at home - year round! You probably already have everything you need right in your pantry. You don’t even need a deep fryer! Just a somewhat deep skillet and a candy or deep-fry thermometer, something that clips onto the side of the skillet and goes up to at least 360 degrees.
Safety tip: don’t forget to keep a large lid next to your stovetop while deep-frying. If the oil catches fire, place the lid over the flames and turn off the heat. Never throw water on the flames.

The best part about homemade funnel cake? You can experiment with flavors! I kept this one mostly basic, but added some cinnamon, allspice, cloves, and nutmeg to give a subtle hint of warm spice. While these were delicious with the traditional topping of confectioners’ sugar, cinnamon sugar would also be a delicious complement!
My last tip is to serve these immediately after frying. Funnel cake gets a little gross after sitting for a while, as the grease soaks into the dough.

Spiced Funnel Cake
Adapted from AllRecipes
Yield: 4 funnel cakes
Ingredients
1 large egg
¾ cup of whole milk
1 cup all-purpose flour
½ tsp baking powder
½ tsp table salt
1 ½ tsp cinnamon
¼ tsp ground cloves
¼ tsp ground allspice
¼ tsp ground nutmeg
2 cups canola or vegetable oil
Confectioners’ sugar or cinnamon sugar for topping
Directions
In an 8-inch skillet with deep sides, heat the oil over medium-high heat. When the temperature approaches 320 to 340 degrees F, drop the heat to medium. When the temperature reaches 360 degrees, you’re ready to fry. Keep an eye on the thermometer throughout the cooking process and adjust the heat as necessary to keep the oil hot enough for frying, but not too much over 360 degrees.
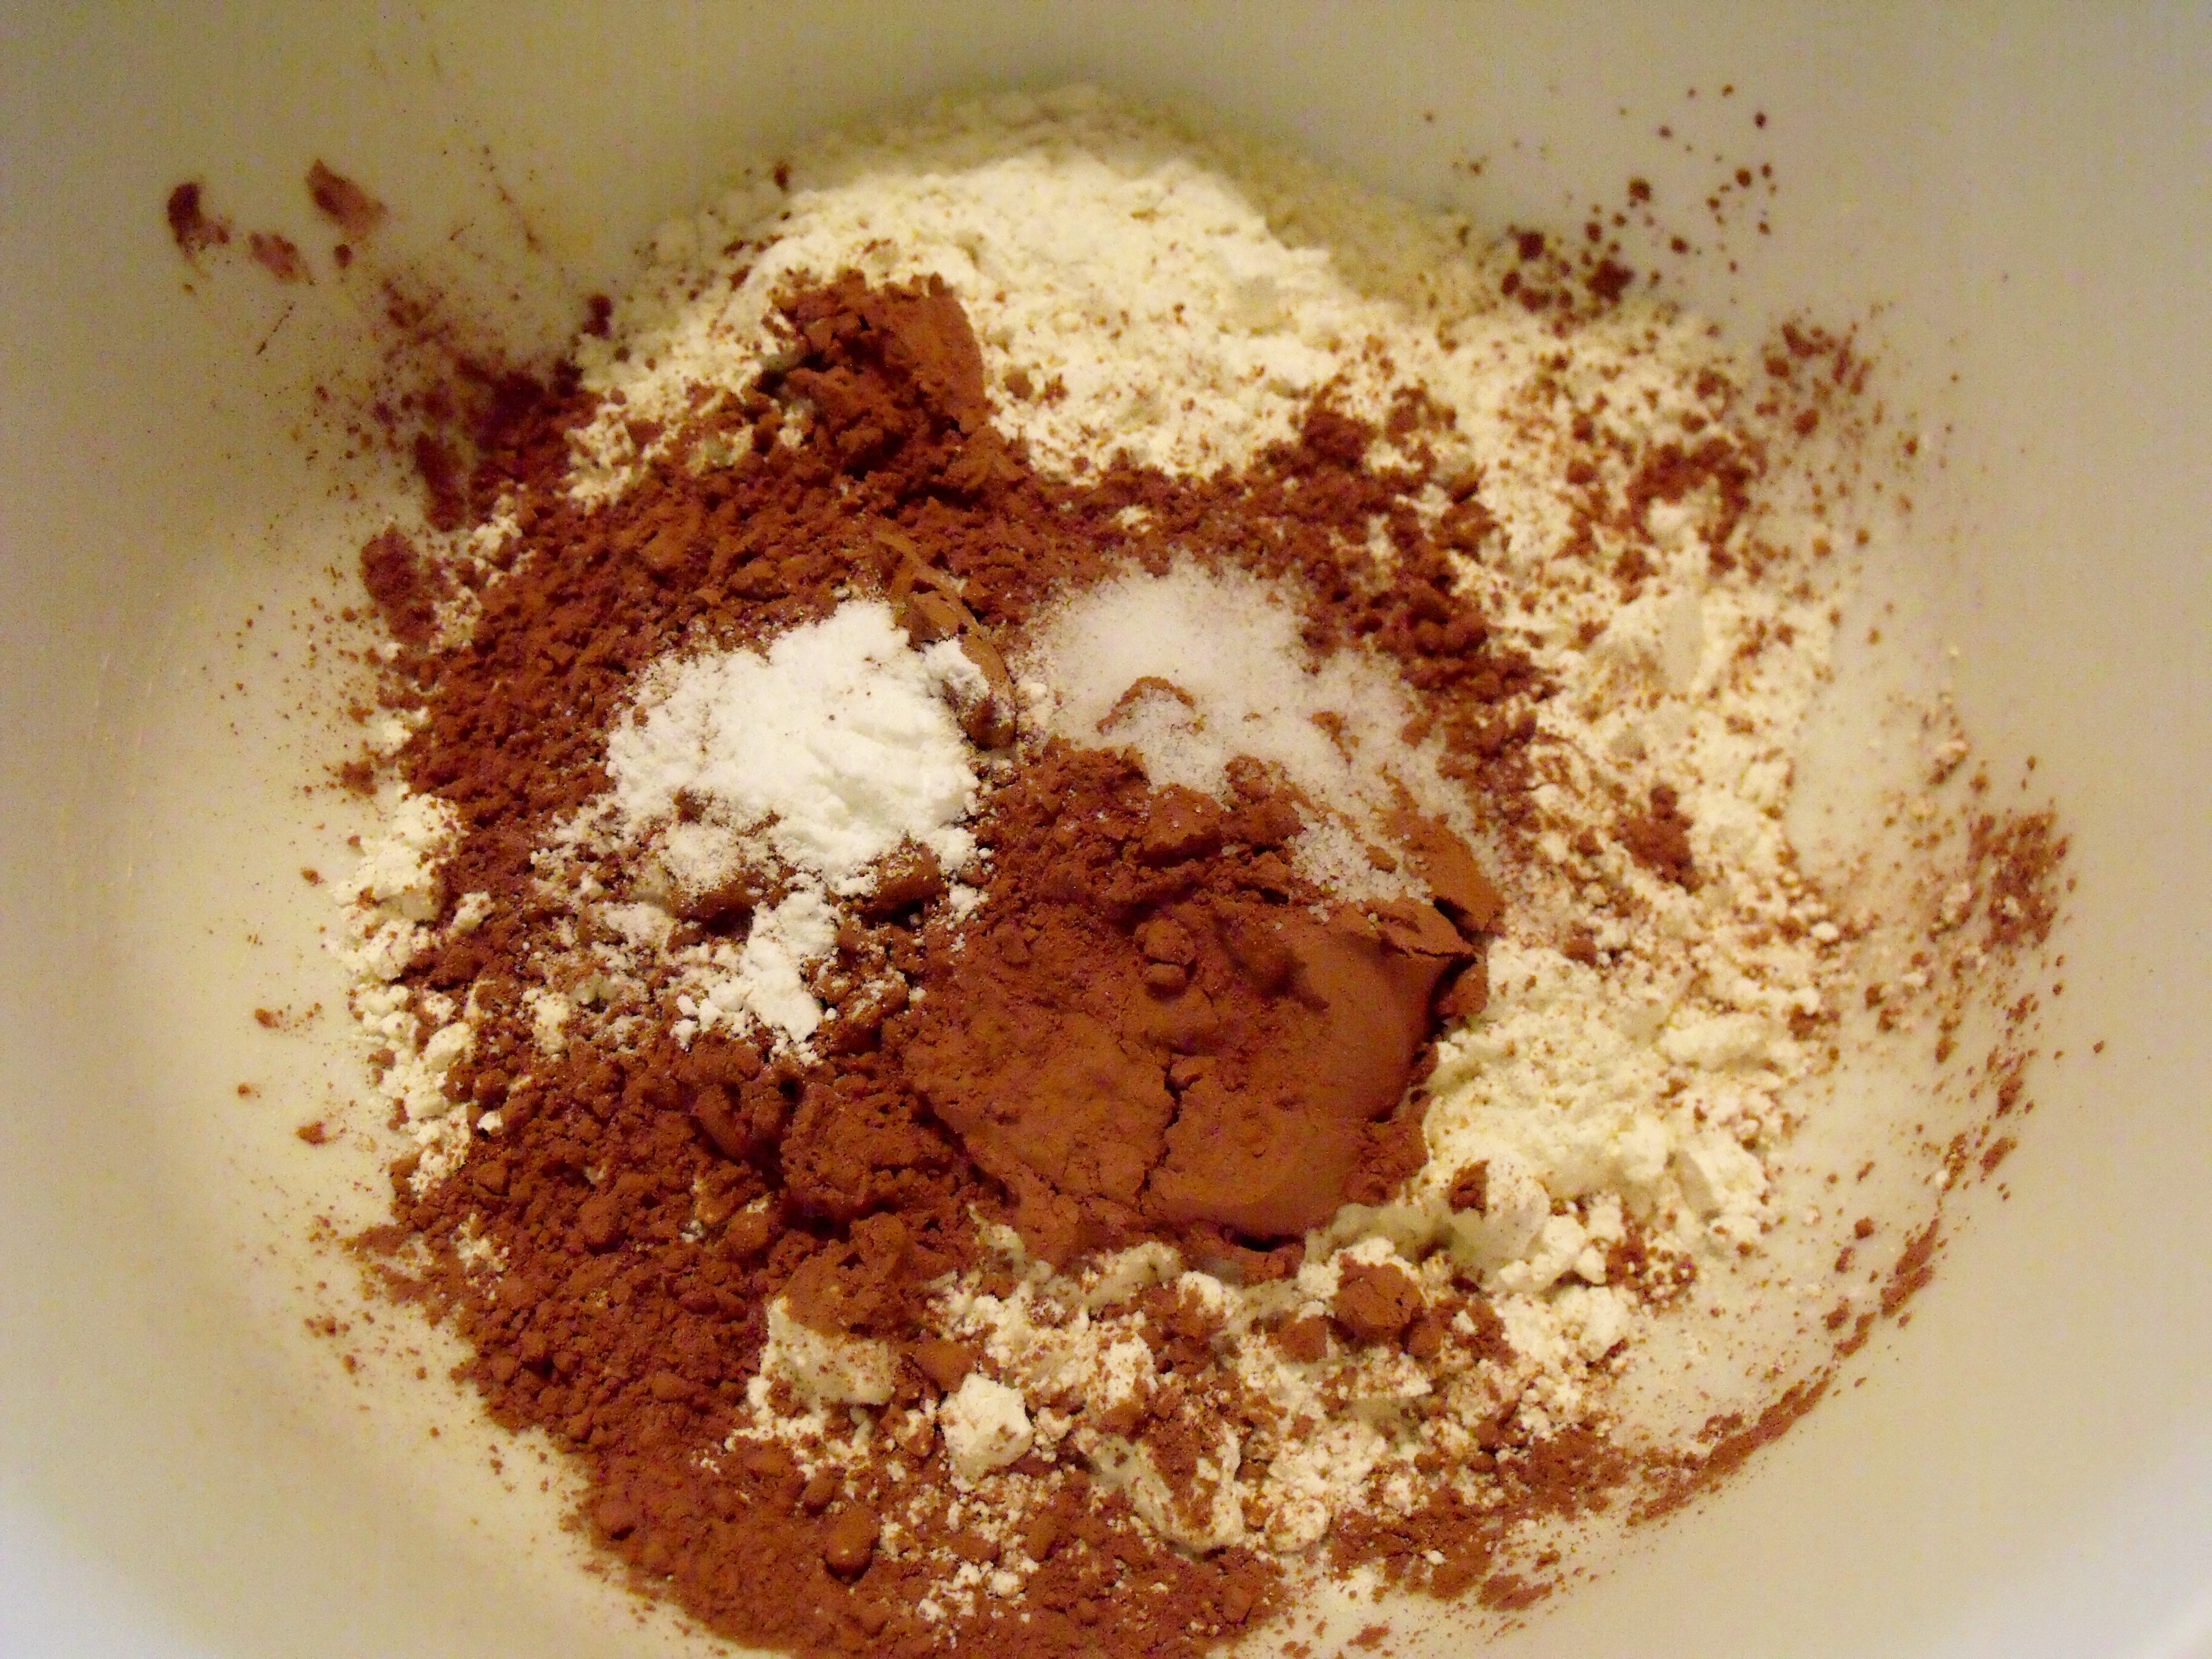
In a small mixing bowl, sift together the flour, baking powder, salt and spices. Set aside.
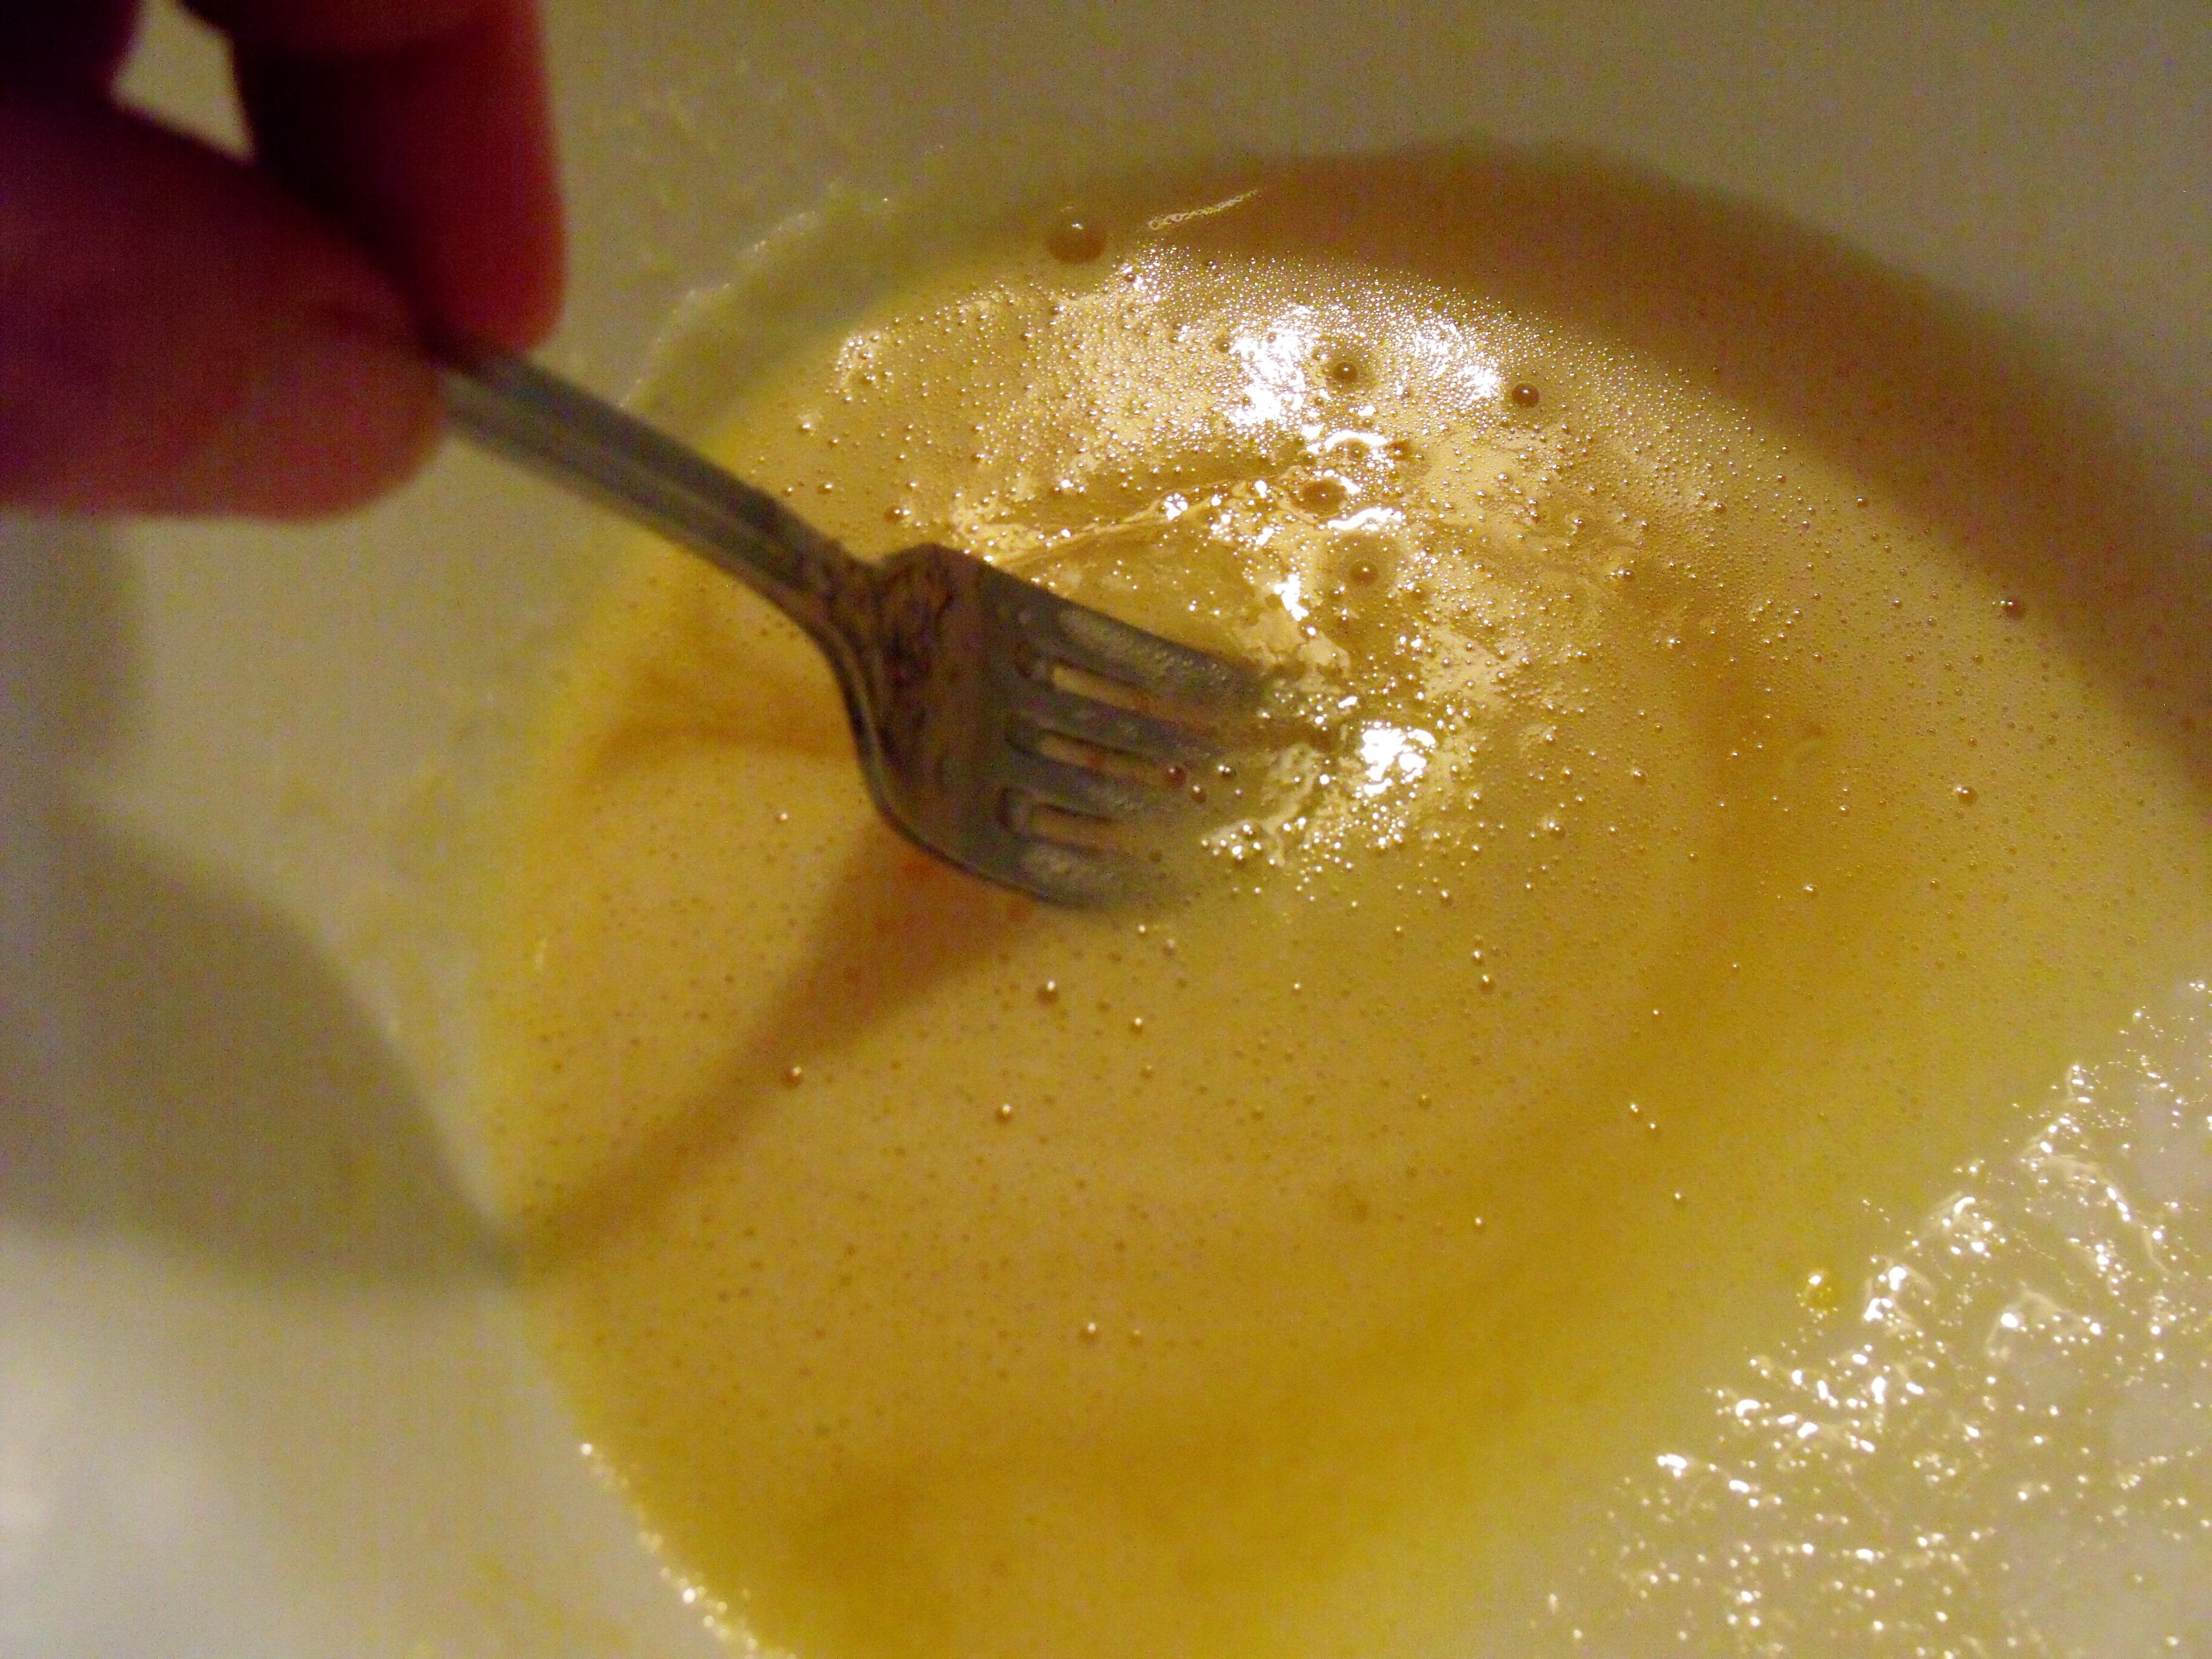
In a medium mixing bowl, whisk together the egg and milk. Add the dry ingredients to the wet, and stir to combine. You’re looking for a consistency that is thin enough to run evenly out of a funnel. If the batter is too thick, add more milk; too thin, add more flour.
When the oil reaches 360 degrees, spoon ½ cup of the batter into a small kitchen funnel, a pastry bag with a small opening, or a heavy-duty plastic storage bag with a small corner snipped off. Hold the funnel (or pastry bag or plastic bag) close to the surface of the oil, and release the batter in a circular motion over the oil. Fry until golden brown on the bottom (time will vary depending on how thick your batter is), then use a pair of tongs to flip the funnel cake and fry the second side until golden brown.
Remove to a plate lined with paper towels to drain. Sift confectioners’ sugar or sprinkle with cinnamon sugar over top and serve. Repeat with remaining batter.
Tip: If your funnel cake ends up with very thick lines, either your batter is too thin, or the opening in your funnel/pastry bag/plastic bag is too big. I used a pastry bag fitted with a Wilton #6 plain tip, which has an opening of about 3/8 of an inch.
~~~~~~~~~~~~~~~~~~~~~~~~~~~~~~~~~~~~~~~